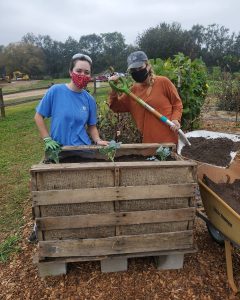
In this tutorial, we will show you how the garden crew made planters from pallet wood. It requires a minimal amount of prying boards! The materials you will need are:
- pallets that have been heat treated (not chemically treated)
- safety glasses
- hammer
- pry bar
- hand saw or reciprocating saw
- exterior screws (we used 2 and 3 inch deck screws)
- drill
- optional: circular saw
- optional: to line the box, you will need lining material (burlap, plastic, landscape fabric, etc.) and a staple gun
Step 1: First, you’ll need to find pallets. You’ll need about 2 pallets per planter, but it’s better to have extra just in case! Because pallets are used multiple times for transporting a wide variety of materials, they can be susceptible to spills from all sorts of nasty liquids and products. The first rule when selecting any pallet is to check if it has anything visible spilled on it. It’s best to discard anything with any spills, stains, or strange discolorations. Stick with a clean, unpainted pallet, especially because we’ll be growing food in these planters and we don’t want any harmful chemicals leaching into our soil!
All pallets will have a block of symbols and information stamped somewhere on them. Look for the “HT” (for heat treated) or “EPAL” on your pallets:

Here’s another helpful guide for identifying pallet symbols and which ones to avoid:

In short, avoid pallets that say MD, EUR, or are colored. Only use pallets where you can clearly find an HT, DB, or EPAL symbol.
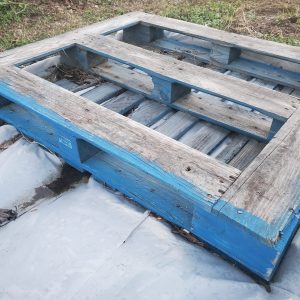
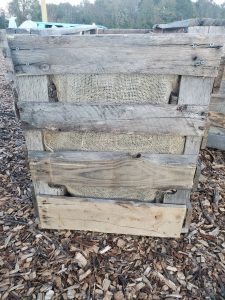
Step 2: Next, look at the layout of your pallets. If you have the opportunity to be picky about your pallets in Step 1, try to get pallets that have blocks in the center of the boards, as opposed to ones with long boards in the center, or a combination of those two types. We had a mix of both types and found we liked using the block pallet for the base of the planter and the board pallet for the sides of the planter.
Pallet with blocks (can be used for base or sides of planter):
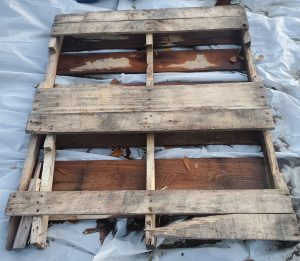
Pallet with long center boards (can be used for sides of planter):
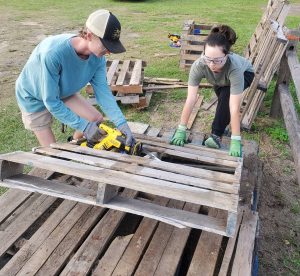
Step 3: Cut the pallets in half lengthwise. If your pallet has an even number of boards, it’s easy! Most of our pallets had 7 boards, so we removed the center board and cut it down the middle where the board was removed. We used a reciprocating saw for this part. Be careful to avoid hitting nails!
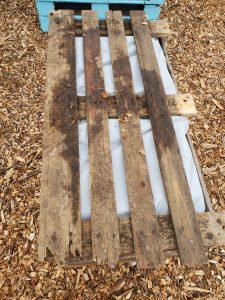
Step 4: If you have a pallet with blocks that’s now cut in half, use the hammer and pry bar to remove the blocks and the loose pieces of board still attached to them. You should be left with a flat panel of boards. This will be the bottom of our planter. If the loose boards you pried off are in good condition, save them for the next step.
Flat panel of pallet used for base of planter:
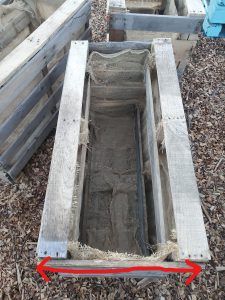
Step 5: Place two of the planter halves on either of the long sides of the flat base. Your pallets should have all been roughly the same length, so it should fit together pretty nicely.
Now measure the width of the short sides of your planter box (see red arrow on the picture below for where to measure). Our pallets were a little over 3 feet wide originally, so when we cut them in half, the width of the planter came out to about 1 ft 8 in. Now here’s where the spare boards from the last step come in handy, or where an extra pallet or two would be good to have. Pry off individual boards and cut them to the width of your planter (we used a circular saw, but the reciprocating saw or hand saw would work too). We cut 4 boards for each side, but you could do more or less depending on your desired look.
Step 6: Screw those loose short-side boards to the two long-side pallet halves to create a bottomless box. Because heat treated wood is very hard and brittle, you will need to drill pilot holes before you put in screws or the wood will split.
Step 7: Determine with side of the box you want to be the top, and turn the box upside down so the top is on the ground. Now place your flat bottom piece on the bottom of the box and screw it down.
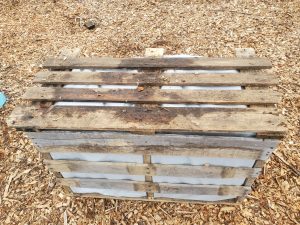
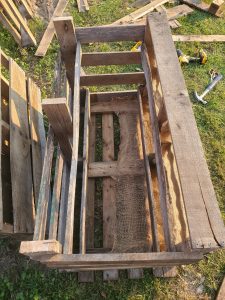
Step 8: Flip your box back right side up. Because we had to remove those middle boards from our pallets before cutting them in half, we were left with some small pieces of wood sticking up on the long sides of our planter (see the left side of the planter in the below picture). If this doesn’t bother you, don’t worry about it! But we wanted to make our planters look as professional as possible, so we added some spare boards across the tops of the long sides to finish them off (see the right side of the planter in the below picture).
Step 9: Another optional step is to line your planter with some kind of fabric or plastic to help hold the dirt in. Since our planters had pretty big gaps between the boards, we didn’t want all the dirt falling through, especially through the bottom. We lined our planters using burlap and a staple gun.
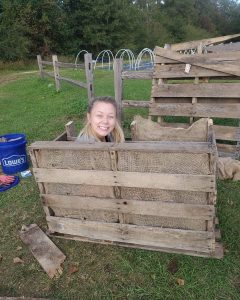
When we ran out of burlap, we used plastic sheeting to line the remaining planters, but if you do this, make sure to poke several holes in the plastic so water can drain out.
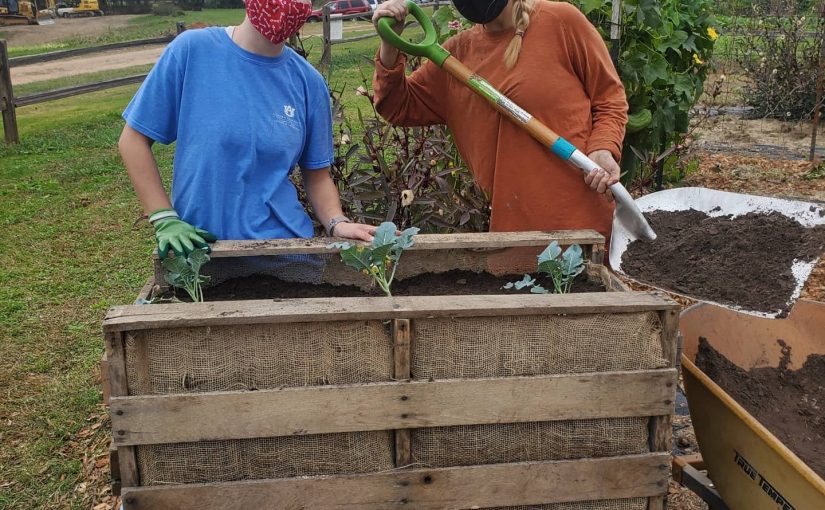
Now you have a ~ 4 ft x 1.5 ft planter! You can make these planters smaller or larger depending on your needs, and they only take a couple of hours to make (when you have power tools), so it’s a fun and fairly easy project. You can leave them rustic like we have or paint them for even more fun (and a great way to involve kids)!
If you make a planter using this method, show us on Instagram or Facebook, or email us at community.garden@auburn.edu!
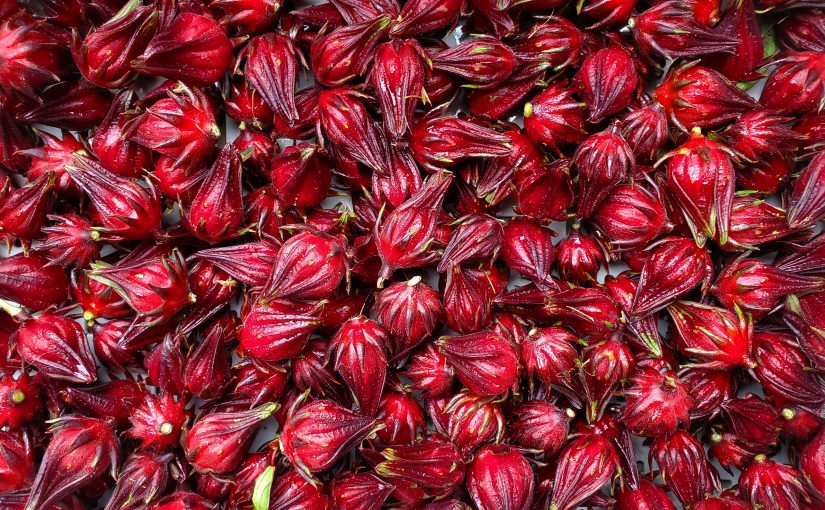


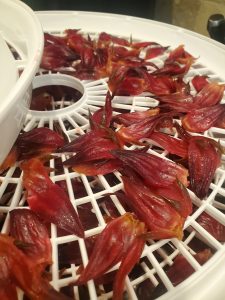
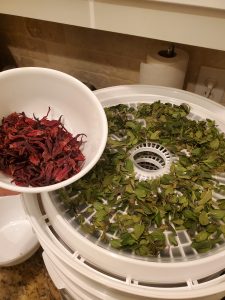
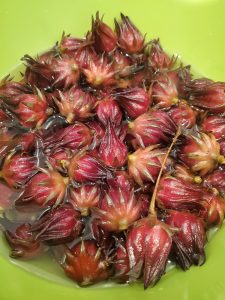 These Roselle fruit are not freshly harvested, and you can tell the color difference!